With the system upgrade, Windows 11 brings some new features and design changes, but it also brings a few troublesome bugs. Windows 11 File Explorer unexpectedly crashing is an error causing hindrance and stalling the work. Even this bug has appeared on Windows 10.
Therefore, what will you do if your File Explorer keeps crashing on Windows 10/11? Why does it keep appearing on your PC? This post is right for you. Keep reading, and all your problems will be solved. You can read another article for more solutions to Windows File Explorer not responding on Windows 10: Solved! Windows File Explorer Not Responding on Windows 10
Tips: You could also consider running Windows 11 without bloatware, which should greatly improve its performance and fix the crashing issue by using Ghost Spectre Windows 11.
Why does File Explorer keep crashing on Windows 10/11?
File Explorer crashing on Windows 10/11 is a disturbing problem affecting a lot of PCs. A lot of triggers that cause this issue, such as the following:
- Crashing on startup
- Cashing while sleeping
- Selecting any file
- Right-clicking any exe file
- Logging into a specific Microsoft account
These triggers will cause File Explorer to crash on Windows 10/11 unexpectedly. Usually, you can restart your Windows to solve this issue temporarily.
Up to now, there is no exact reason why your File Explorer keeps crashing on Windows 10/11, but here are some possible reasons to take as a reference to eliminate this issue.
- Corrupted system files
- Improper system settings
- Running Windows 10/11 built-in
- Interference by third-party software
- Problematic third-party software
- Incompatible third-party software
- Accumulated cache
- A large number of files in history
How to fix File Explorer keeps crashing on Windows 10/11?
To fix File Explorer that keeps crashing on Windows 10/11, you need to ensure that you have a stable internet connection and log in to your computer as an administrator.
Here are some methods to fix File Explorer that keeps crashing on Windows 10/11.
Restart File Explorer from Task Manager
Restarting your File Explorer from Task Manager can help you to solve this problem simply. If you have recently started facing this problem, this method may be useful for you. Here's how:
- Press Ctrl + Alt + Del to open the Security Options window.
- Select Task Manager from the list.
- Click the Process tab and then find File Explorer.
- Right-click File Explorer and then click Restart.

In this way, you may fix File Explorer that keeps crashing on Windows 10/11; if not, keep doing the following troubleshooting.
Change File Explorer settings
However, File Explorer crashing may be due to some misconfigured settings, so changing the File Explorer settings can help to solve this problem as well.
- Press Win + Q and then type in Control Panel in the search box.
- Click on Control Panel in the search result to launch it.
- Click on File Explorer Options.
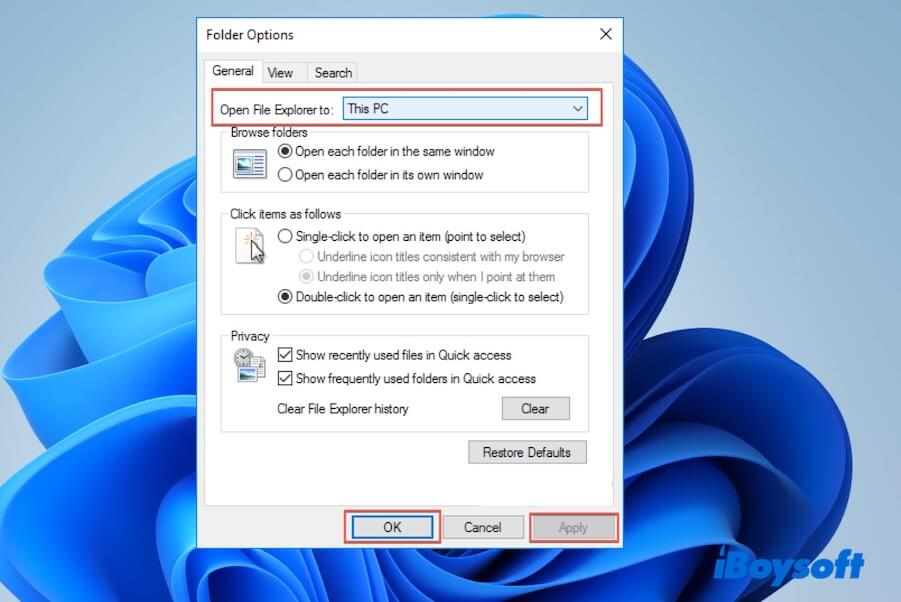
- Click on the General tab in the pop-up window.
- Click the list next to Open File Explorer, then select This PC.
- Click Apply and then click OK to save the changes.
Except that, all File Explorer windows run in the explorer.exe process by default. Therefore, if one of the File Explorer windows crashes, then the problem that Windows Explorer keeps crashing will appear.
At this time, you can launch folder windows in a separate process as shown below:
- Open File Explorer Options by doing the same above.
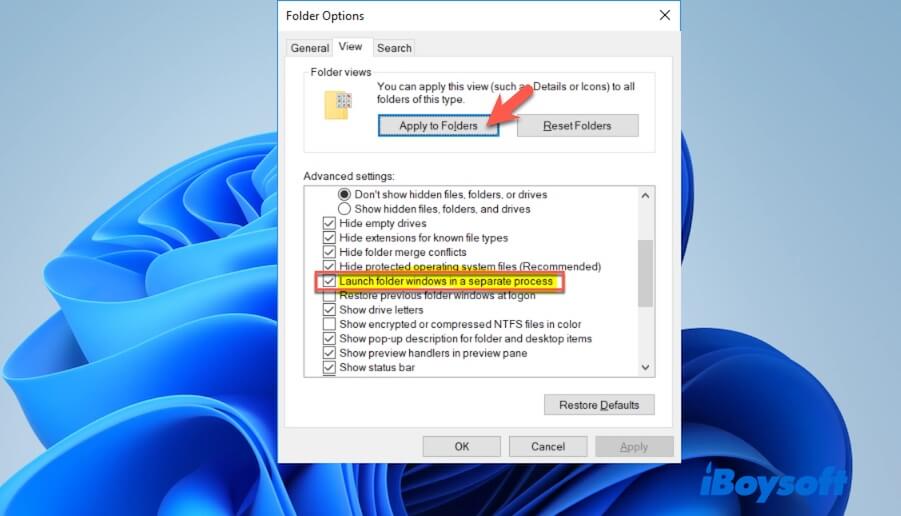
- Click on the View tab in the pop-up window.
- Scroll down in the Advanced settings list and then check Launch folder windows in a separate process.
- Click Apply to Folders and then click OK to save the changes.
Clear File Explorer cache
Sometimes, because the corrupted File Explorer cache causes hindrance to the smooth functioning of File Explorer, File Explorer crashes unexpectedly or keeps crashing. Under these circumstances, you can clear the File Explorer cache to solve this problem.
- Do the same operations as the above to open File Explorer Options.
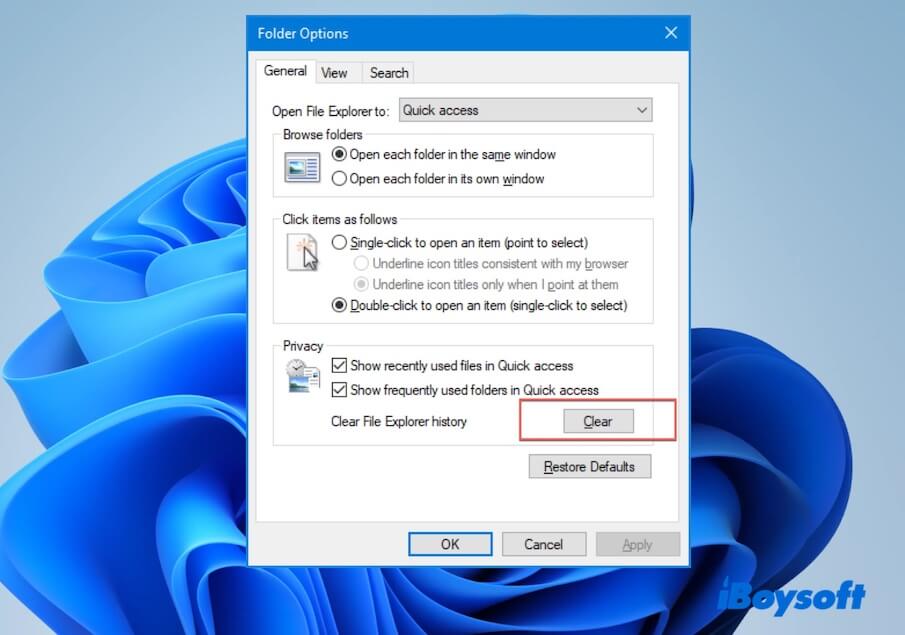
- Turn to the General tab in the pop-up window.
- Click Clear next to Clear File Explorer history in the Privacy section.
- Click Apply and then click OK to confirm the changes.
Change your graphics driver
Outdated graphics card drivers can cause the error that Windows 10/11 File Explorer keeps crashing; therefore, you should update or reinstall your graphics card driver.
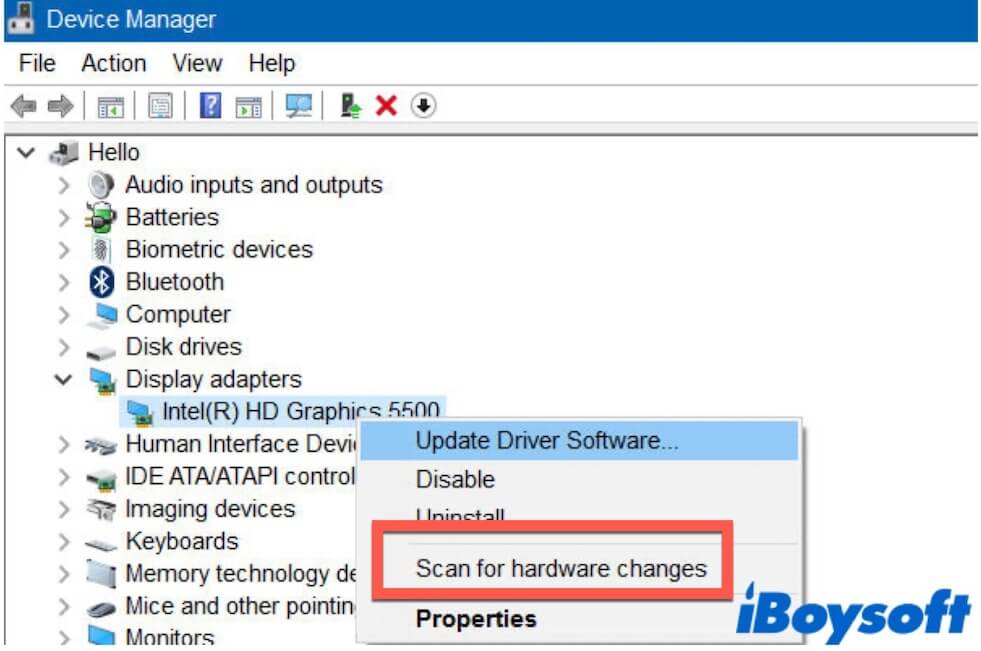
- Press Win + X to choose Device Manager.
- Expand Display adapters and right-click your graphics card to select Uninstall device.
- Check Delete the driver software for this device, and then click Uninstall.
Restart your PC, and your system will automatically reinstall your graphics card. If Windows doesn't reinstall your graphics card driver, you need to go to your graphics card manufacturer's website to download the latest driver for your device.
After that, open Device Manager again, click Action on the top menu bar, and then choose Scan for hardware changes. Once the process has finished, restart your PC to check if File Explorer can work normally.
Run CHKDSK and SFC Scan
One of the reasons that File Explorer keeps crashing is corrupted or missing system files; thus, you can run CHKDSK to check and repair the corrupted system files.
- Press Win + Q to type in Command Prompt in the search box.
- Right-click it in the search result and choose Run as administrator. (Or you can press Win + Shift + Enter to open it with administrator privileges.)
- Type in the command below and press Enter. chkdsk/f/r
- Press Y to confirm that you want to run a hard disk check when the system starts the next time and press Enter.
Now restart your computer to make Windows perform the hard disk check. After that, check if the issue has been fixed. If not, you can run System File Check (SFC scan) to check, repair, or replace the corrupted or missing system files.
- Do the same above to open Command Prompt.
- Type in the following command and press Enter to run.
sfc/scannow
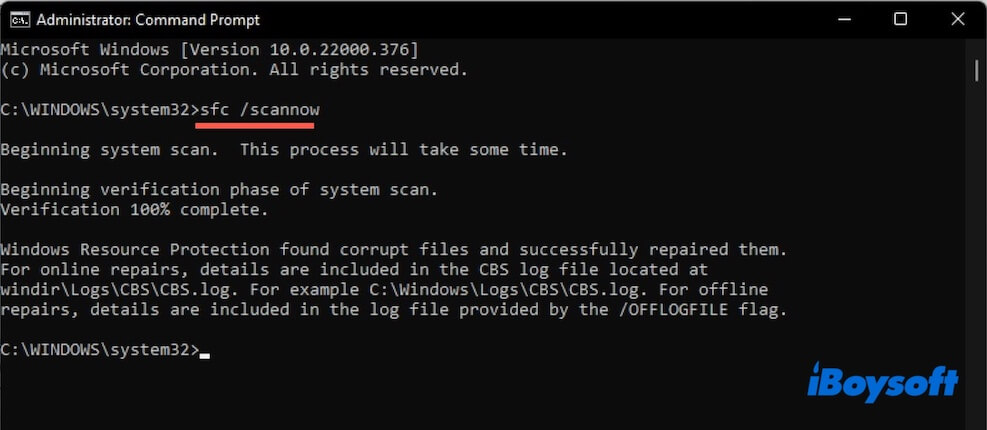
Wait for the scanning process to finish and make sure you don't close the command prompt or shut down your computer during the process. It will automatically fix all the detected errors on your PC.
After that, restart your PC and check if the issue has been fixed.
Keep your PC up to date
Running an outdated operating system is one of the reasons that may cause your File Explorer crashes unexpectedly or keeps crashing. Therefore, keeping your PC up to date is necessary.
- Press Win + I to open Settings.
- Turn to Update & Security > Windows Update > Check for updates.
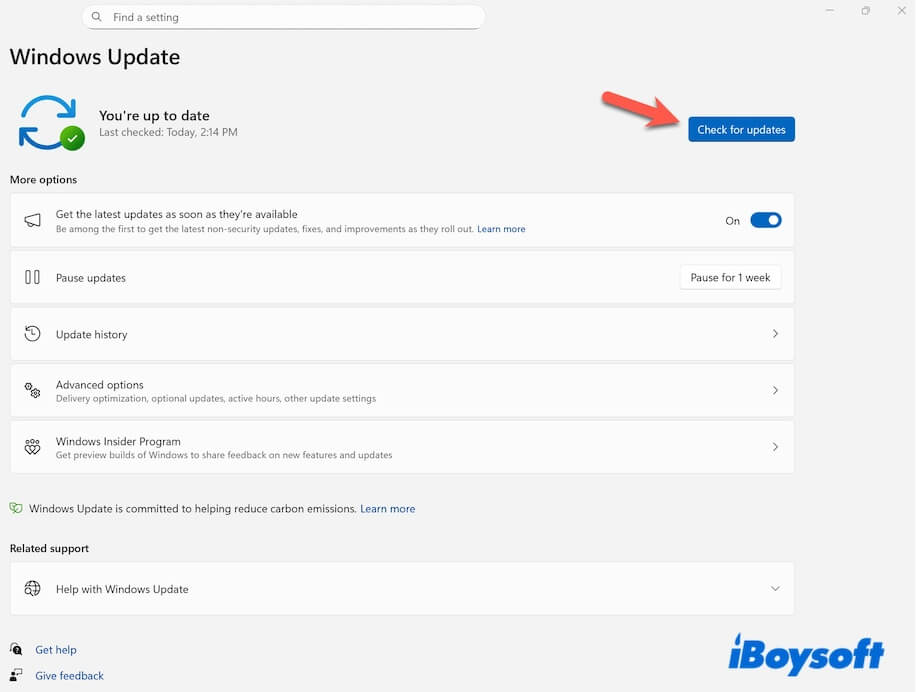
If there are any available updates, Windows will start to download them automatically. After downloading the updates successfully, restart your computer to perform the installation process.
After that, check if your File Explorer can run normally.
Recover data after File Explorer crashes
If Windows File Explorer crashing has caused data loss due to accidental deletion, system shutdown, or any other reason, then it could be a case of system file corruption.
In this situation, you can take professional data recovery software like iBoysoft Data Recovery for Windows to help you to get back your data.
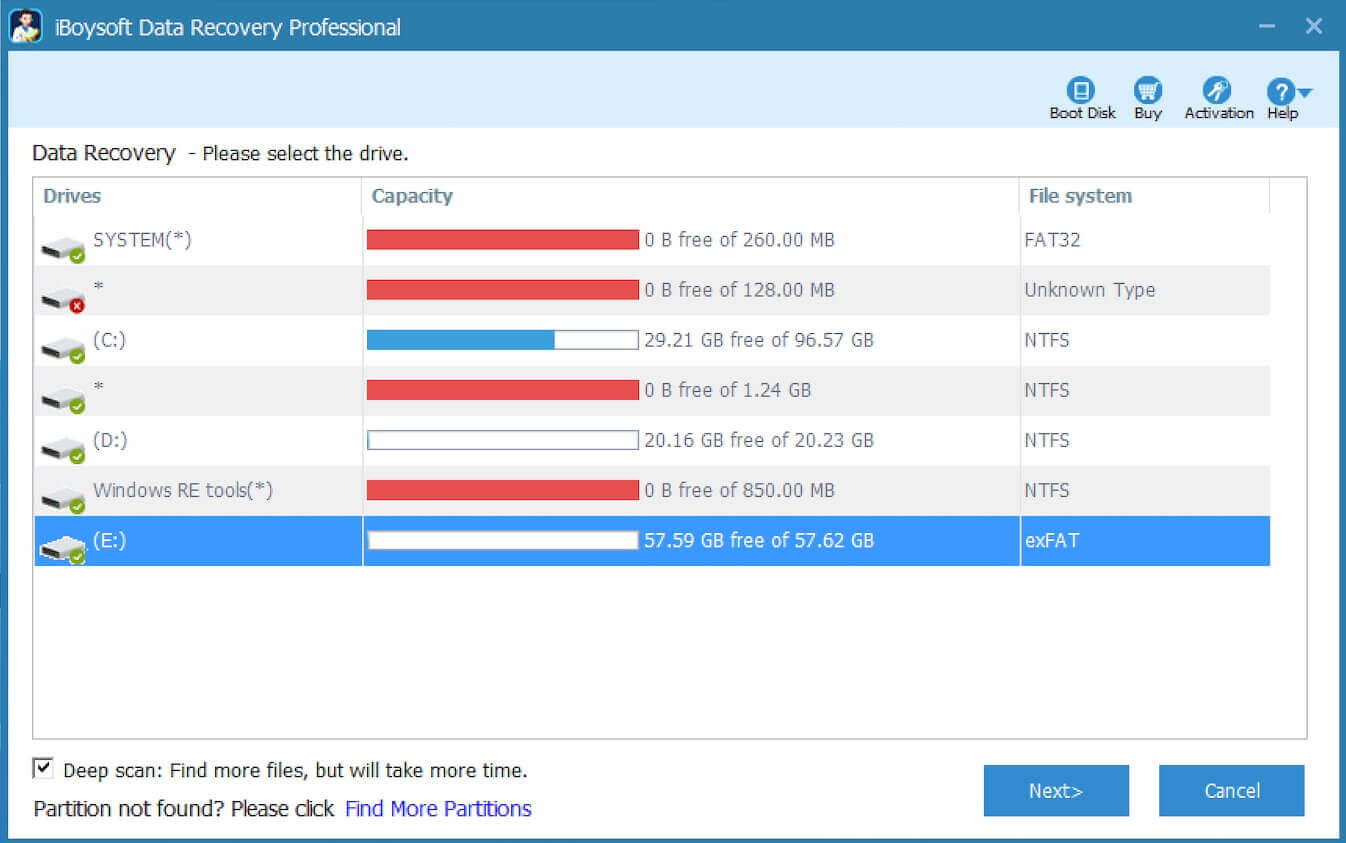
- Free download and launch iBoysoft Data Recovery for Windows.
- Select Data Recovery.
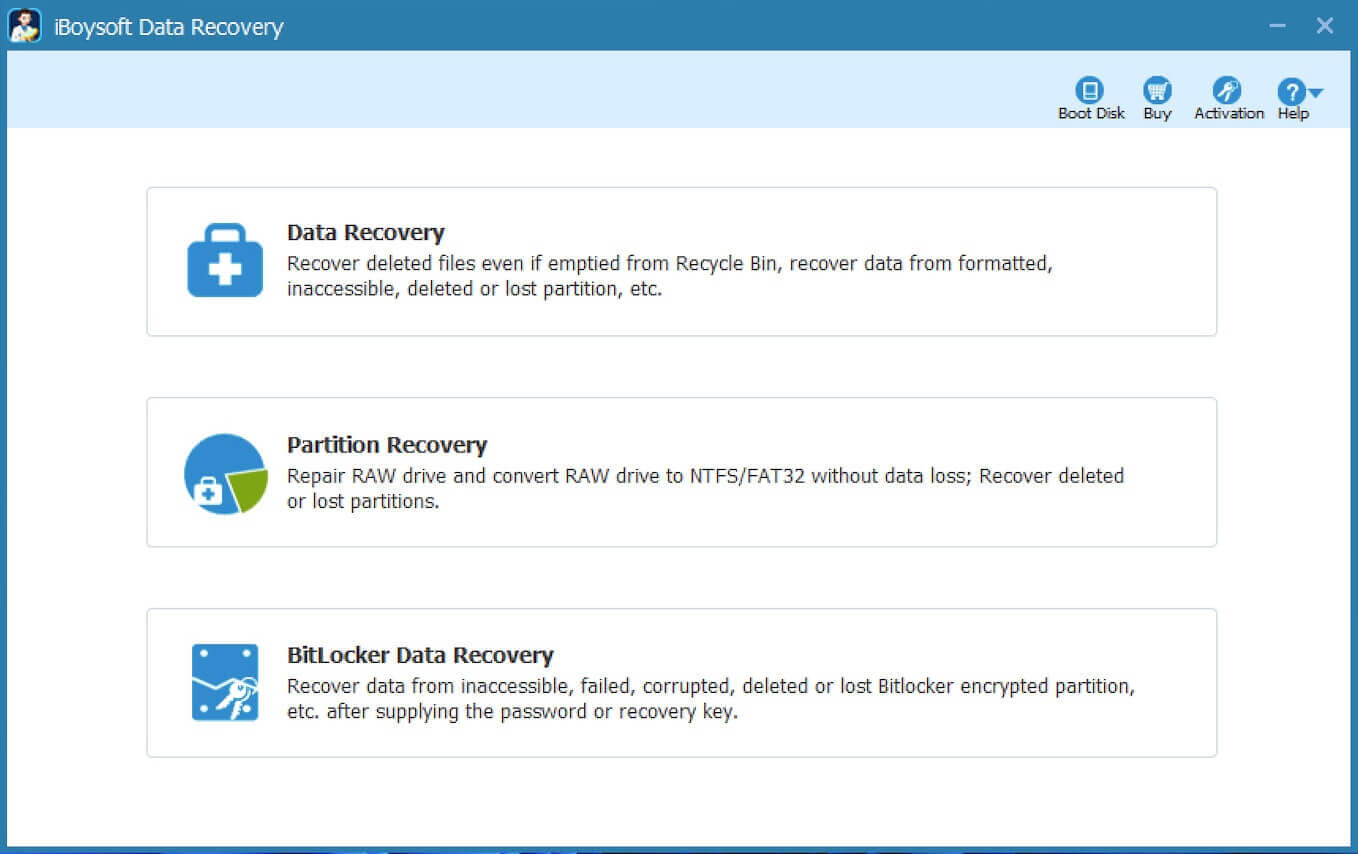
- Select your internal drive (C: Drive) and click Next.
- Find and preview the search result and choose a different location to store it.
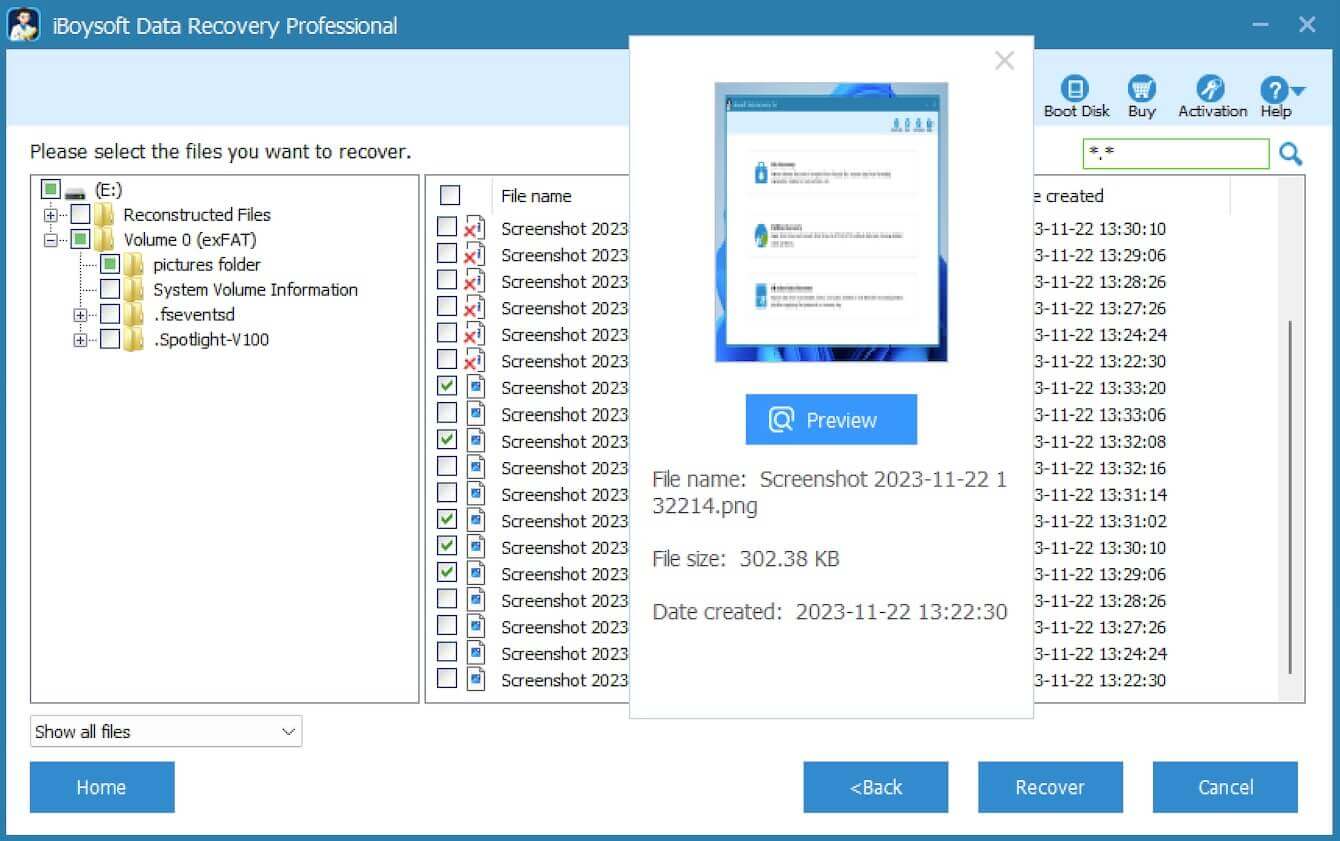
- Click Recover and then check if you get back all your data.
How to avoid File Explorer from crashing, not working, or being unresponsive?
Up to now, you must know how to fix File Explorer keeps crashing on Windows 10/11, but it's an annoying problem if it still occurs the next time. So here are some tips for you to prevent File Explorer from not working.
- Keep your Windows up to date
- Clear the File Explorer cache usually
- Fix corrupted system files in time
- Disable some unnecessary extensions
FAQ
- QWhy does File Explorer keep crashing?
-
A
It can be caused by a series of reasons, such as corrupted system files, outdated operating systems, improper system settings, accumulated cache, etc. But here's not an exact reason.
- QHow to clear File Explorer cache Windows 10?
-
A
Go to File Explorer Options > General > Clear > Apply > OK. Details are in the article.